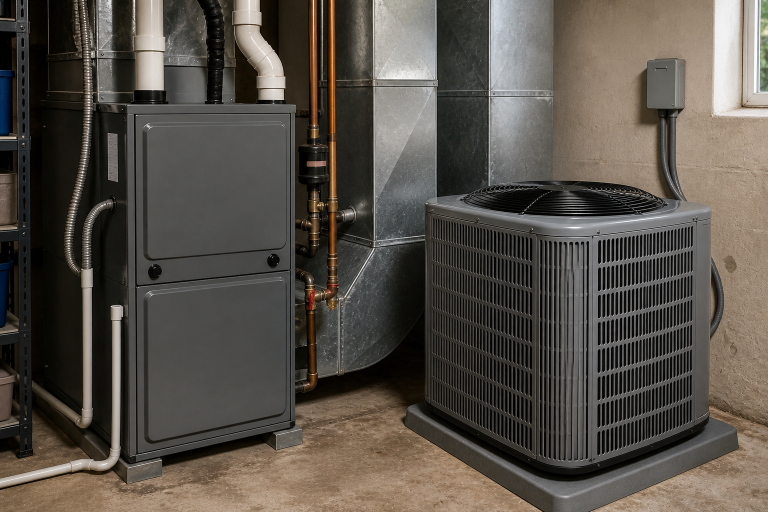

A standard residential air conditioning unit moves heat from inside your house to the outside air using a continuous loop of chemical refrigerant. This process relies on a delicate balance of temperature and mechanical force to keep the indoor climate comfortable. When something disrupts that balance, the entire cooling cycle slows down or stops altogether.
Many homeowners searching for answers to cooling problems eventually ask, “What Is Head Pressure HVAC?” This term describes the mechanical force generated by the compressor as it pushes hot refrigerant gas into the outdoor unit. Keeping this metric within the manufacturer’s specified range prevents premature equipment failure and lowers monthly energy bills.
The Basics of Discharge Pressure
The compressor acts as the heart of any central cooling system, pumping refrigerant through a closed loop. As the compressor squeezes the warm refrigerant gas coming from inside the house, it creates what technicians call discharge pressure. This force pushes the hot gas out into the outdoor condenser coil.
Once inside the outdoor coil, the gas releases its collected heat into the outside air and condenses back into a liquid. The refrigeration cycle depends entirely on this pressure differential to function properly. If the discharge force gets too high, the compressor works harder than it should and draws excess electricity.
Proper head pressure control ensures the system removes humidity and cools the indoor air without straining mechanical parts. Technicians measure this force using specialized tools to verify the equipment is operating within safe limits. A well-balanced system maintains steady suction pressure on the indoor side and steady discharge pressure on the outdoor side.
Why Your System Might Overwork
High head pressure occurs when the refrigerant cannot release its heat fast enough into the outdoor air. The compressor continues to pump gas into the condenser coil, causing the internal pressure to spike. This backup forces the motor to draw more amps, which often trips the circuit breaker or triggers the internal thermal overload switch.
Several physical blockages and mechanical failures can disrupt this heat transfer process. Homeowners should watch for the following common culprits:
- A dirty condenser coil coated in pollen, dust, or grass clippings acts as an insulating blanket, trapping heat inside the unit.
- Restricted airflow from overgrown bushes or fences placed too close to the outdoor cabinet prevents the fan from pulling enough air across the coils.
- A malfunctioning expansion valve fails to meter the liquid refrigerant properly, causing liquid to back up into the condenser.
- An accidental overcharge of refrigerant leaves too little room for the gas to expand, driving up the internal pressure.
When these issues occur, the cooling capacity drops noticeably inside the home. The system will run constantly without reaching the temperature set on the thermostat.
2026 Repair and Diagnostic Estimates
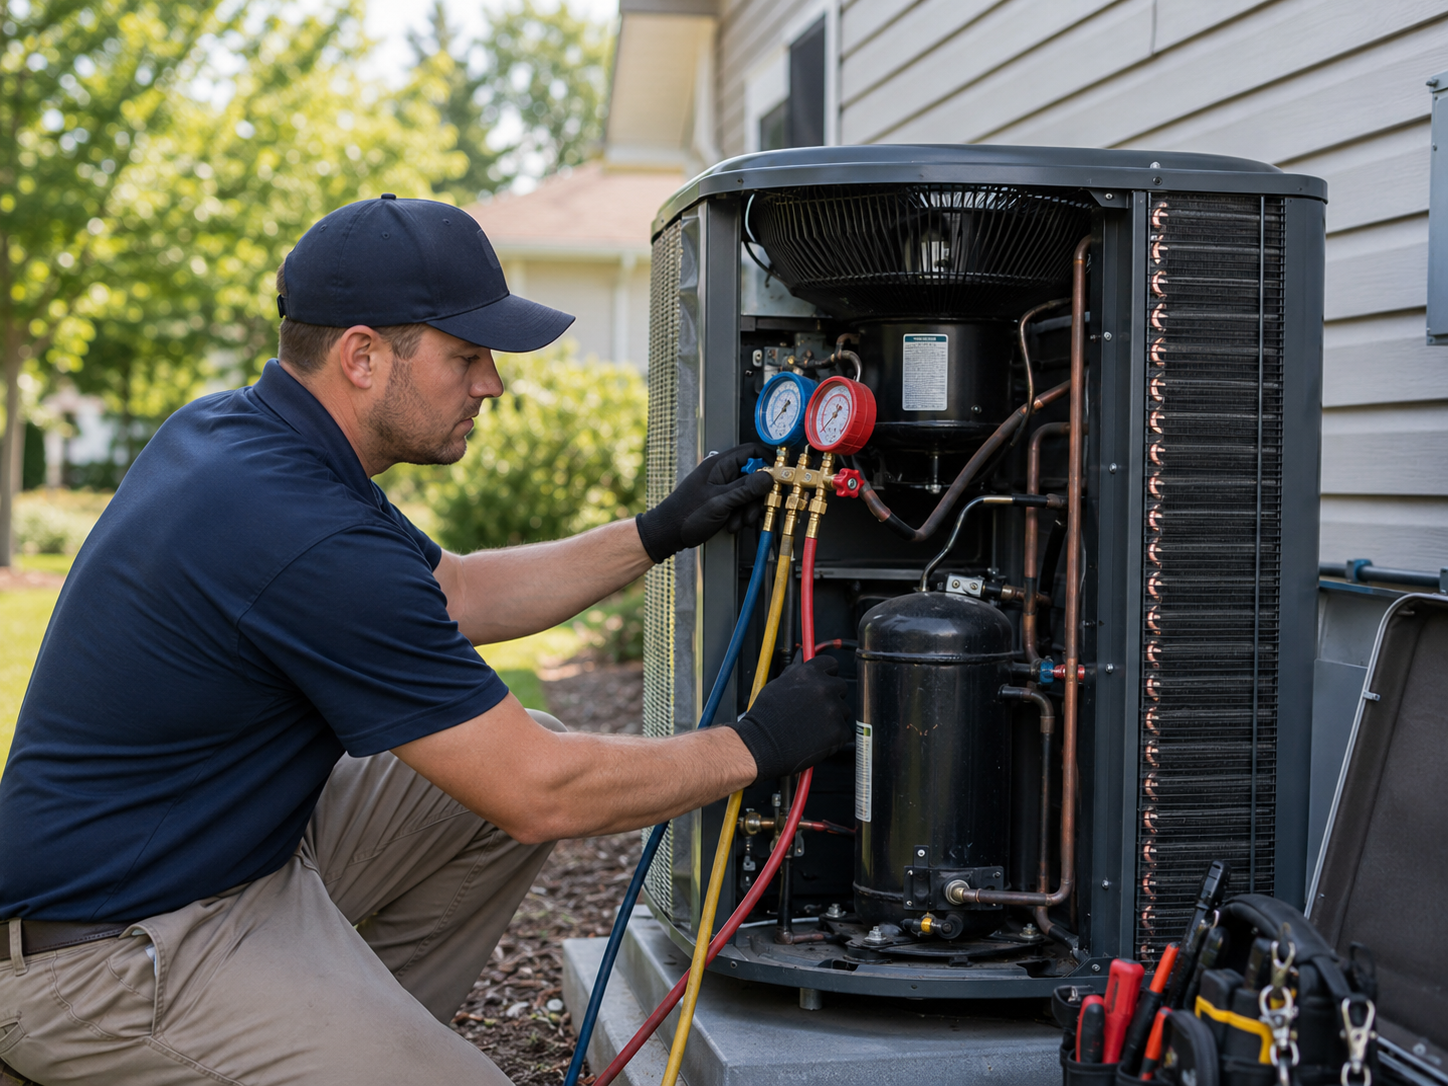
A standard service call to check refrigeration systems begins with a technician attaching manifold pressure gauges to the outdoor service valves. For 2026, most HVAC companies charge a diagnostic fee ranging from $75 to $150 just to identify the problem. This fee covers the trip out to the property and the initial testing of the electrical and refrigerant circuits.
Minor repairs that resolve pressure issues generally cost between $100 and $600. These fixes might include replacing a failing condenser fan motor, installing a new run capacitor, or chemically cleaning a heavily soiled outdoor coil. Addressing these smaller problems early keeps the compressor from running hot and burning out its internal windings.
Ignoring the warning signs often leads to catastrophic equipment failure. If the compressor dies from prolonged high pressure, replacement costs run anywhere from $600 to $2,500 depending on the unit’s size and warranty status. Homeowners should weigh these repair costs against the price of a complete system replacement if the unit is more than ten years old.
Routine Upkeep to Prevent Costly Breakdowns
Preventive maintenance extends the lifespan of a cooling system and keeps electrical consumption in check. Simple tasks performed around the property can stop pressure issues before they start.
Homeowners can handle basic yard work, but they must leave the sealed refrigerant lines to licensed professionals. Handling chemical refrigerants without an EPA certification violates federal law.
- Clear all leaves, branches, and debris at least two feet away from the outdoor condenser to guarantee adequate airflow.
- Replace indoor air filters every one to three months to maintain proper suction pressure and airflow across the indoor evaporator coil.
- Rinse the outside of the condenser cabinet gently with a garden hose to remove surface dirt, but avoid using high-pressure nozzles that can bend the delicate aluminum fins.
- Schedule an annual inspection with a local technician to verify refrigerant levels and test electrical components before the summer heat arrives.
Sticking to a consistent maintenance schedule saves money on emergency service calls. A clean, well-maintained system simply does not have to work as hard to cool the house.
Frequently Asked Questions
Can head pressure be too low?
Yes, low head pressure usually points to a refrigerant leak or failing compressor valves. When the pressure drops below the manufacturer’s target, the system lacks the force needed to push liquid refrigerant indoors. This results in warm air blowing from the vents and a frozen indoor coil.
How do I know if my HVAC has head pressure issues?
The most obvious sign is an outdoor unit that repeatedly shuts off after running for only a few minutes. You might also notice the outdoor cabinet feels unusually hot to the touch or hear the compressor making a loud buzzing noise. If your energy bills spike while the house stays warm, a pressure imbalance is a likely cause.